- MAP MODELS TEXTURES LEVELS PHOTOS ARTWORK MAP MODELS TEXTURES LEVELS ARTWORK MAP MODELS TEXTURES LEVELS   - MAP MODELS TEXTURES LEVELS
TUTORIALS  
-
-
HOME
-
-
MODELS
-
TEXTURES
-
LEVELS
-
ARTWORK
-
SHADERS
-
TUTORIAL
-
FILES
-
-
-
-
-
TUTORIALS
-
-
-
-
-
-
HOME
-
-
-
 
-
-
- - - - -
-
-
-
-
-
-
-
-
-
-
-
-
-
 
UVW MAPPING PART1

uvw wrapping part1

imp_controls

IMP_CONTROLS
Here we will go thru creating a uvw map of a model in 3ds max .

MAX
In 3ds max From the menu:
Customize -> Grid and Snap Settings
Under the Home Grid Tab you want the above settings.

1: First we create your model, in this case i`m using a model of some imp_controls that i am making.if you dont know how to model then this tutorial will not help you .I will probably do some tutorials on making basic items in max.
If you are making models specifically for a game, in this case jedi academy, then it is best to set up the max .ui so you get the compatibility, when you import the model into gtk.
to do this, you will have to do the following.

above shot in max


This is the view from above the model in 3ds max, as you can see i try to line the model to the axis whenever possible this greatly helps when exporting.


Again the side view is as close to the axis as i can get, i always use snap to grid when i build in max,it means you have more control of where the objects edges will rest.Also pay close attention to the x/y/z coordinates at the bottom, you can move/correct verts by entering values here too.


side view in max

Image showing the object with all faces selected and "flattened" in the edit window

As the model is made up of 5 identical objects we dont need to uvw unwrap them all, we can work on one then save our uvw map and apply that to the other 4, so we must select each element of our model and "detach" it until there a 5 seperate objects (see image).
Our object is ready to be unwrapped. from the "modifier list" drop down menu select"unwrap uvw", you will see in yellow above the editable poly that there is a new entry in the stack(red in image).
Click image for more text.

Image showing the object with all faces selected and "flattened" in the edit window

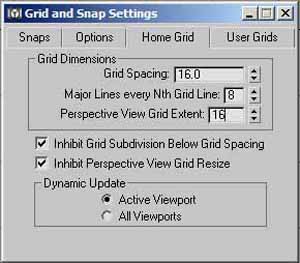
Now we will get to see the uvw map,click "edit"under the parameters tab and a new window will open up, this is the window that we will use to manipulate your uvw map.
Now 
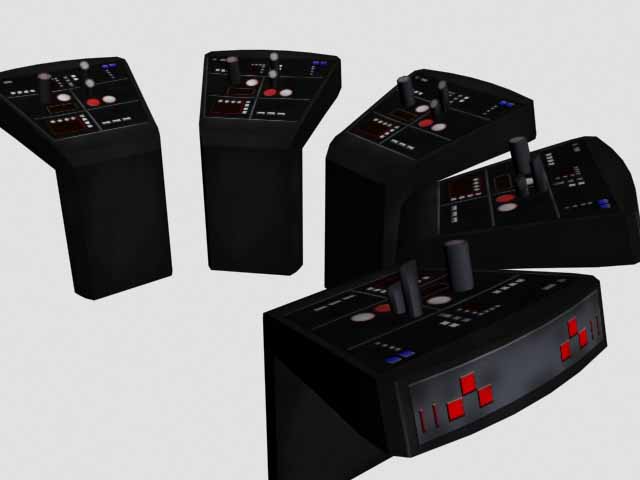
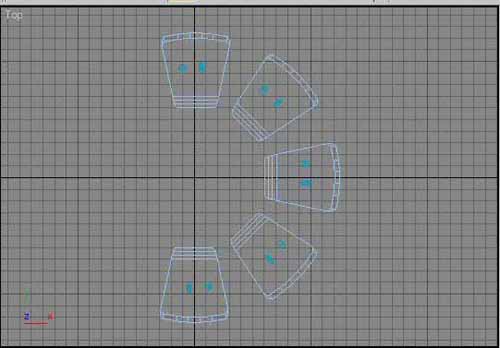
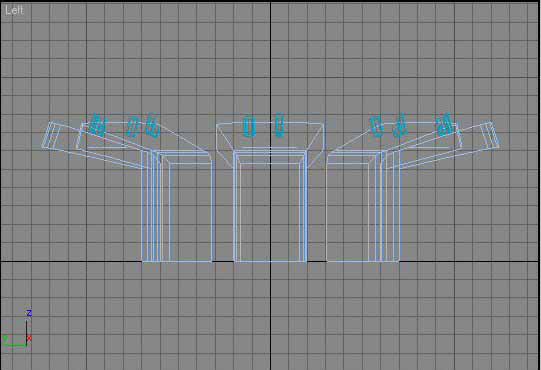
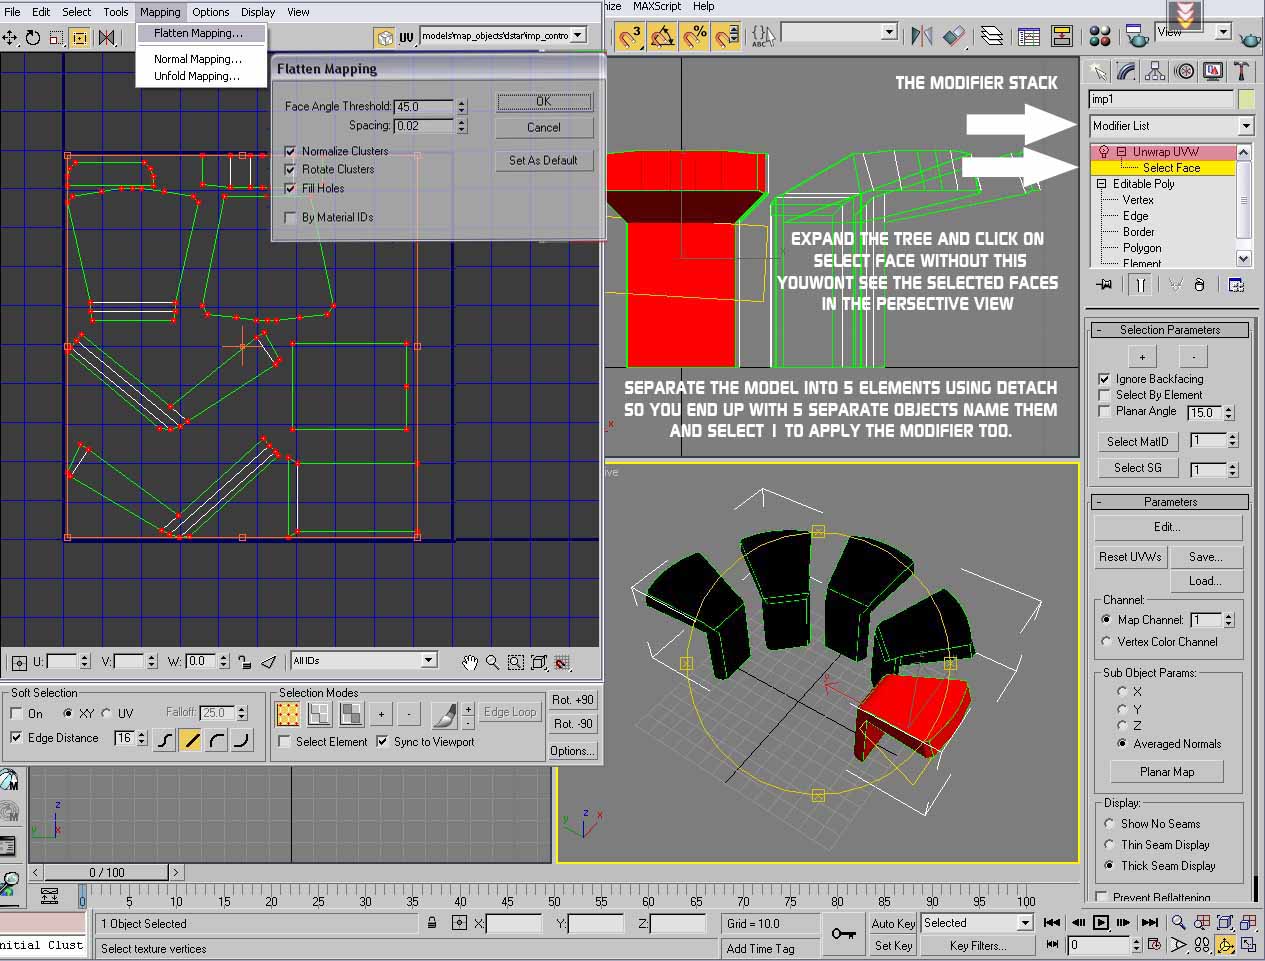
comes the bit that may seem hard,but it isn't, click on the image to the left and follow what you see, to get all of the faces laid out flat select the whole object and then "mapping" in th edit window (se image) choose flatten and it all gets laid out for you, you can choose to leave it this way and go strait to texturing from here, but i like to arange the maps so the most vivible parts of the model have the most detail.

The result of flatten mapping is the green line with red dots that you see on the left of the picture.
TUTORIAL
HOME
NEXT
PAGE
HOME
-
-
-
-
PART2
-
TUTORIAL 2
-
-
-
LINKS
-
-
-
-
-
-
-
WORKS
IN
PROGRESS
-
-
-
-
-
-
HOME
-
-
-
 
-
-
- - - - -
-
-
-
-
-
-
-
-
-
-
-
-
-